Getting solar panels installed on your home is an exciting step towards not only your energy independence, but also a great way to improve your environmental responsibility. However, the process can feel overwhelming if you don’t know what to expect. Understanding each phase of the installation journey will help you prepare your mind and your home correctly and ensure everything runs smoothly from initial consultation to final activation.
Initial Assessment and Planning
First, the solar installation process starts with a comprehensive site assessment. We will visit your property to take a look at your roof’s condition, orientation, and structural integrity. We’ll also make a note of the available space, check for shading from nearby objects such as large trees or buildings, and assess your electrical system’s capacity. This evaluation typically takes one to two hours and determines whether your home is suitable for solar installation. With this information, we will then calculate the optimal system size based on factors including roof space limitations and local solar irradiance levels. This will all then be provided to you in a solar proposal showing projected energy production, costs, and even potential savings over time.
Permits and Paperwork
Once you’ve signed a contract, that’s the hard part finished on your side! There’s no need to worry about the paperwork, as we will handle the paperwork maze on your behalf. This includes applying for local building permits, utility interconnection agreements, and any necessary homeowner association approvals. The permitting process varies significantly by location but typically takes two to six weeks.
Design and Engineering
Once the permits are in progress, we will begin selecting the appropriate equipment for your brand-new solar system. Based on your roof type, local weather conditions, and budget considerations, we will choose the best solar panels, inverters, and mounting systems for your new solar installation.
Pre-Installation Preparation
Once you have your installation date, please ensure that your property is prepared by clearing driveway access for our team, in order for us to deliver the products and reach your roof safely.
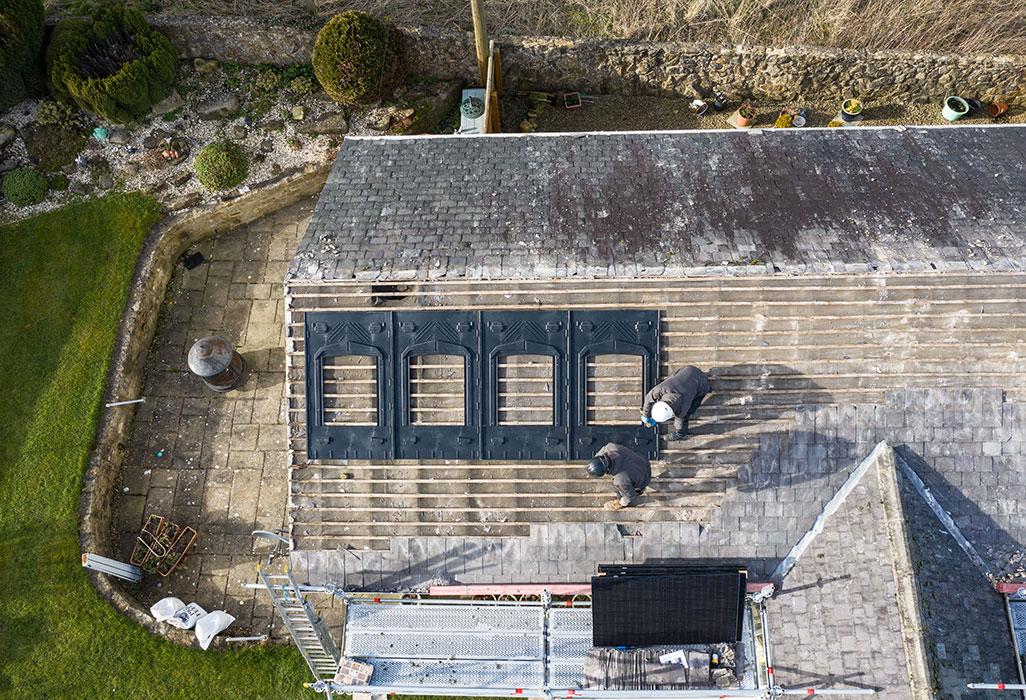
Installation Day
Solar installation typically takes one to three days, depending on system size and complexity. We will arrive early and begin by setting up safety equipment and laying protective coverings to prevent damage to your property.
The installation itself follows a systematic process: mounting rails are secured to roof rafters, panels are carefully positioned and connected, and electrical components are installed and wired.
The electrical work does require a temporary power disconnection while connecting the system to your main electrical panel.
Electrical Connection and Testing
After panels are mounted and connected, electricians will install the inverter system and connect everything to your home’s electrical panel. This involves installing production monitoring equipment and ensuring proper grounding for safety. The system undergoes comprehensive testing to verify that all connections are secure and functioning correctly.
We will also show you around an app that tracks energy generation and system performance. This allows you to monitor your solar investment’s performance and quickly identify any potential issues.
Post-Installation Support
Once that’s all done, your solar panels are good to go! Once we’re all wrapped up, we can also provide ongoing support throughout your system’s warranty period. This typically includes performance monitoring, maintenance reminders, and troubleshooting assistance.
Solar installation represents a significant investment in your home’s future. By understanding each phase of the process, you can make informed decisions, prepare adequately, and enjoy the benefits of clean, renewable energy for decades to come.